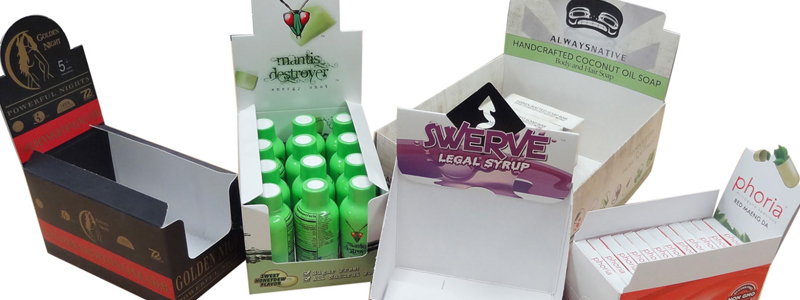
Cardboard boxes are reusable due to their adaptable and dynamic properties. After the initial use, these boxes can be used for many purposes in houses or business places. At home, everyone is concerned about the space to keep things organized. With space, we are also more concerned about looks and appearances. Every one of us wants things more decorative and presentable. Cardboard display boxes can be used to make your walls more decorative with space to keep things in an organized way. These boxes' materials are sturdy that can protect things effectively. You can also increase the thickness of these boxes for more protection. Manufacturers also used custom boxes with more thickness of cardboard material to make it durable. At home, the increased thickness can be availed by pasting more cardboards together. It can make your cardboard thicker that can bear and keep heavy products safely in place. From cardboard, it’s easy to make any shelving for walls. You can also customize these shelves as this material is really easy to cut and mold. Shelves can be of any shape-round, square, rectangle, hexagonal, triangle, or any other custom shape design. According to the requirement of space, you can decorate your shelves with custom changes. Empty walls don’t look great, this is the best way to decorate your walls with some functionality. You can place the decorations or kids’ stuff on these shelves and cabinets.
With the help of these steps below, you can easily make a cardboard box wall display at home.
First, you need to gather all the materials and tools at one place that you are going to use in the making of a wall display.
Make your mind about what shape of wall display is going to fit. Then you need to cut the cardboard into pieces of the same dimensions. Decide the dimensions of shelves according to the wall area that you want to use. These dimensions help you to cut the cardboard pieces with the same structure and alignments. You can use the dimensions of your own to make it more structured. For exact measures, you can draw lines with a ruler and pencil. Or mark the dots from where you want to start your cutting and the point where you want to finish it.
To make your wall display more presentable, you can paint your cardboard pieces. The outer side of these pieces can be colored with paint brushed in any desired colors. This coloring can give a more defined look to your wall display.
Paste the decorative paper of any design inside of cardboard pieces. It gives your wall display an elegant appearance. For pasting more securely you can use glue.
To make the walls of your display shelves, you need to cut them vertically. Exact measurements can be used to cut these pieces. These measurements depend upon how many shelves you are going to paste on your wall and what distance. Measure accurately and then cut two long pieces for the walls of your shelves.
After shelves and walls, you need to cut a square box shape cardboard. This square piece is going to be placed at the wall with three horizontal shelves and two vertical walls on the edges. That means the square piece should be slightly extended measurements from the shelving piece that can give some space to vertical walls.
After cutting walls and square box you can wrap these as well in decorative paper. Paste the edges of the paper from glue to make your wall display unique.
This is the step where you are going to organize all the cardboard pieces. At the back square cardboard, piece need to be placed. Then put three shelves horizontally on it and paste it with the help of duct tape and glue. The final thing you are going to line up is wall pieces. Paste the wall cardboard pieces at the edges of shelves vertically. Hot glue can be used for more secure pasting. After the assembling, you got a box with three shelves and two walls. These shelves can be used to put decorative things or kids' stuffed toys in an organized and pretty manner.
After preparing the wall display it’s time to hang it up on the wall. That can make your walls presentable and unique. For hanging up on the wall you need to cut two small rectangular pieces of cardboard. This should be small in size with the same length and width. Now you have to glue both pieces by folding in a way that you got a hole in between. This hole is going to be used to pass the thread that can hold your wall display over the wall. Paste it at the back of your wall display. The glue should be dried well because it’s going to hold all the weight of your wall display. Then take a resilient thread and pass it from both small cardboard pieces by making a loop. You need to pass the thread three times and create a loose loop. Now the wall display is secure to put over the wall with all the decorative stuff in it. In this way, you can easily make your walls more presentable and decorative with durable cardboard box with handle. It doesn’t cost you but it can give you the right place to organize your stuff perfectly.
 Cardboard Boxes
 Corrugated Boxes
 Cosmetic Packaging
 Display Packaging
 Eco Friendly Packaging
 Food Packaging
 Gift Packaging
 Paper Bags
 Retail Packaging
 Rigid Boxes
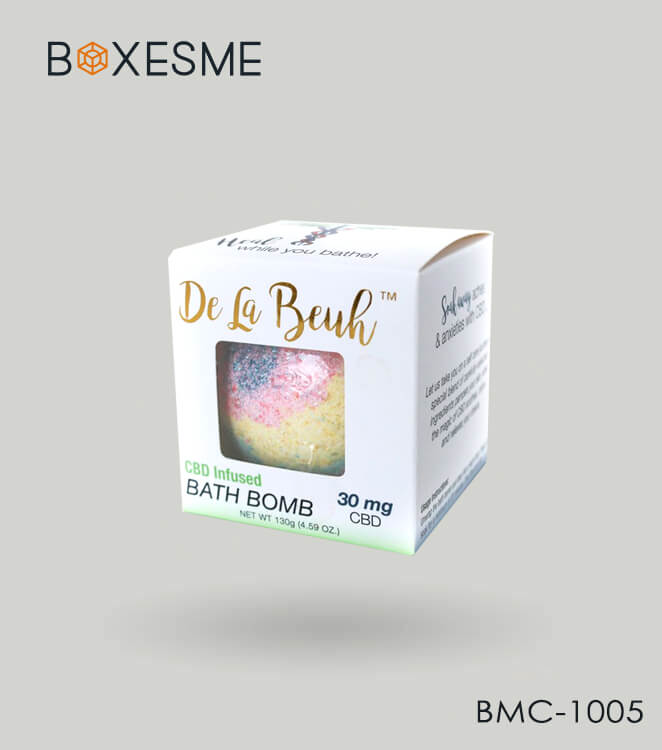 Smart Packaging
 Style Display Boxes
.jpg) Style Figures And Pattern
Style Figures And Pattern Style Fold And Assemble
 Style Rectangular Boxes
 Style Top & Bottom Closure